It seems that for many people, Nginx is just a web server or, at best, a reverse proxy.
But hold on tight! We're about to show you how to go much further in just under 10 minutes of configuration.
Why use Nginx Proxy Manager?


It’s versatile and easily manageable through your browser. Need to make a change?
Just one click, and you’re done! Plus, you can use it simultaneously to redirect your Minecraft server, set up reverse proxying, manage domain redirections, create and manage SSL certificates, and much more—without spending a penny more.
1 - Quick Recap
A proxy is an intermediary server that stands between two devices (typically a client and a server). Often used to redirect HTTP/HTTPS requests and traffic, it can also be used for other protocols (that's called port forwarding).
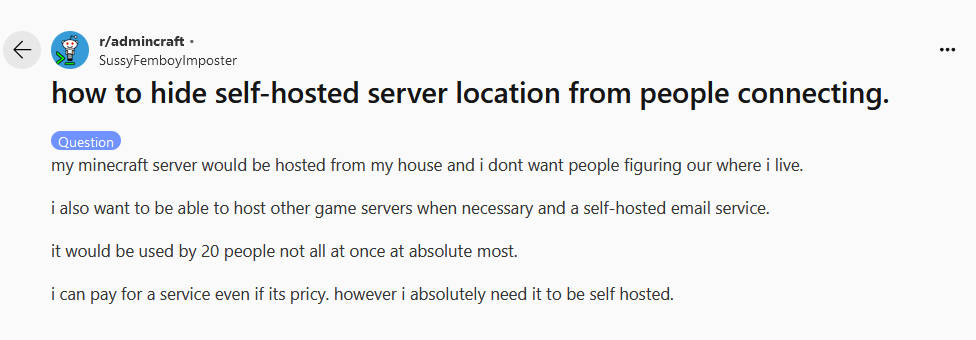
Here, we'll see how to use Nginx Proxy Manager to redirect port 25565 from a server hosted at home without revealing your router's IP address.
In this example, we’ll draw inspiration from this Reddit thread
2 - Prerequisites
2-1 - A server with an IP address that you can share with your players (a cheap VPS will do) running on Linux (I’m using Debian 12 for reference), which will serve as our proxy.

2-2 - Basic command-line knowledge (being able to connect via SSH and install a package with apt should be fine).
2-3 - [Optional] A domain name that points to your proxy's IP address.
That’s pretty much it.
3 - Let’s Get Started
We’re assuming here that you're using a Debian server and that you’ve already got your VPS credentials. The tutorial might slightly differ if you're using Ubuntu, for instance.
3-1 - Connect to your server via SSH. (You can use Putty or directly from the Windows 11 command prompt)
3-2 - Install Docker and Docker Compose - If you’re using the root account on Debian, omit "sudo" from your commands (so `sudo apt-get update` should become `apt-get update`).
4 - Great! Now we’ve got the basics, let’s keep going!
4-1 - We're going to install Portainer, which will make configuring Nginx Proxy Manager a breeze for the next steps. :)
Copy/paste and run this command:
docker run -d -p 9000:9000 --name portainer \
--restart=always \
-v /var/run/docker.sock:/var/run/docker.sock \
-v portainer_data:/data \
portainer/portainer-ce:latest
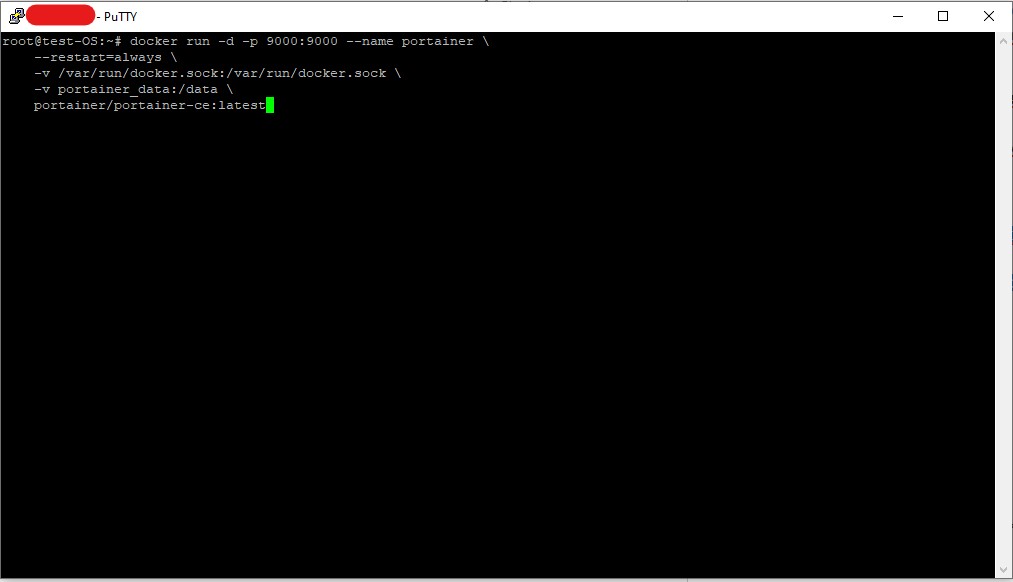
4-2 - [Info] This command will launch Portainer in a container (in short, an isolated application, literally in a container). Portainer will help us configure Nginx Proxy Manager easily and make any necessary changes.
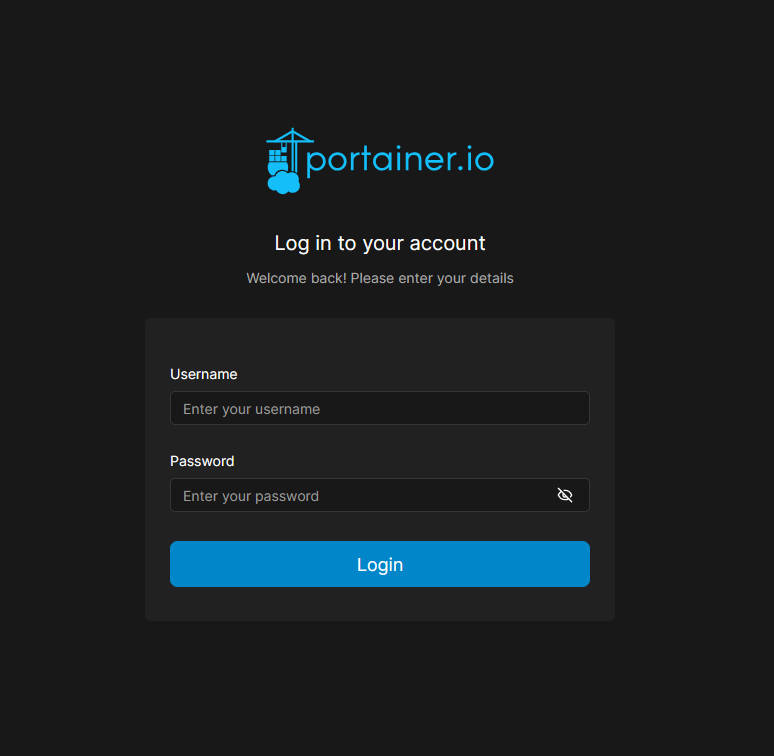
4-3 - In your browser, type your proxy’s IP address in the address bar followed by port 9000 (e.g., `1XX.XXX.XXX.XXX:9000`).
4-4 - Create a strong username and password. These will be required whenever you want to make changes in Portainer. Finally, log into Portainer with the credentials you’ve set.
4-5 - Click on "Get Started"
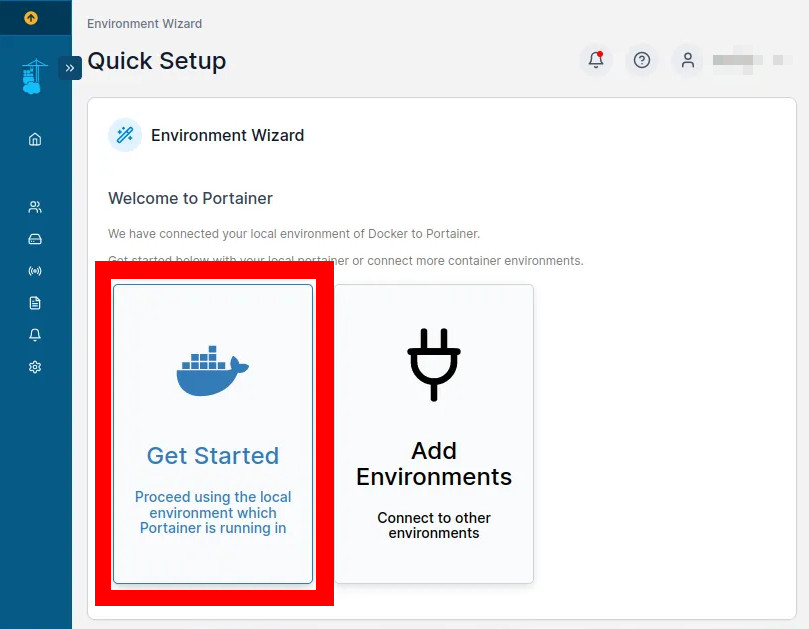
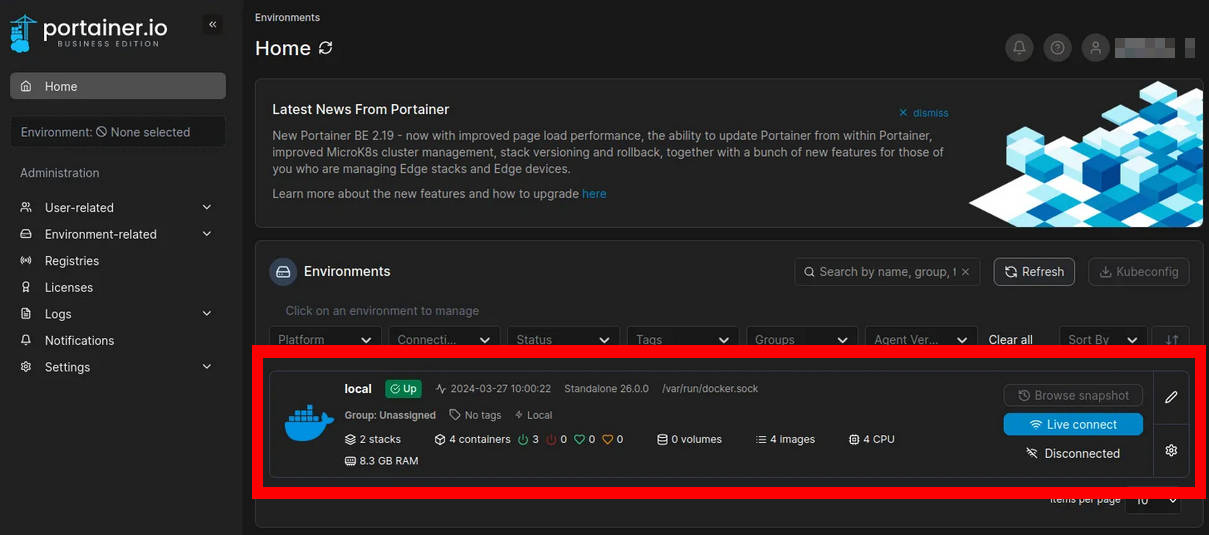
> "Local"
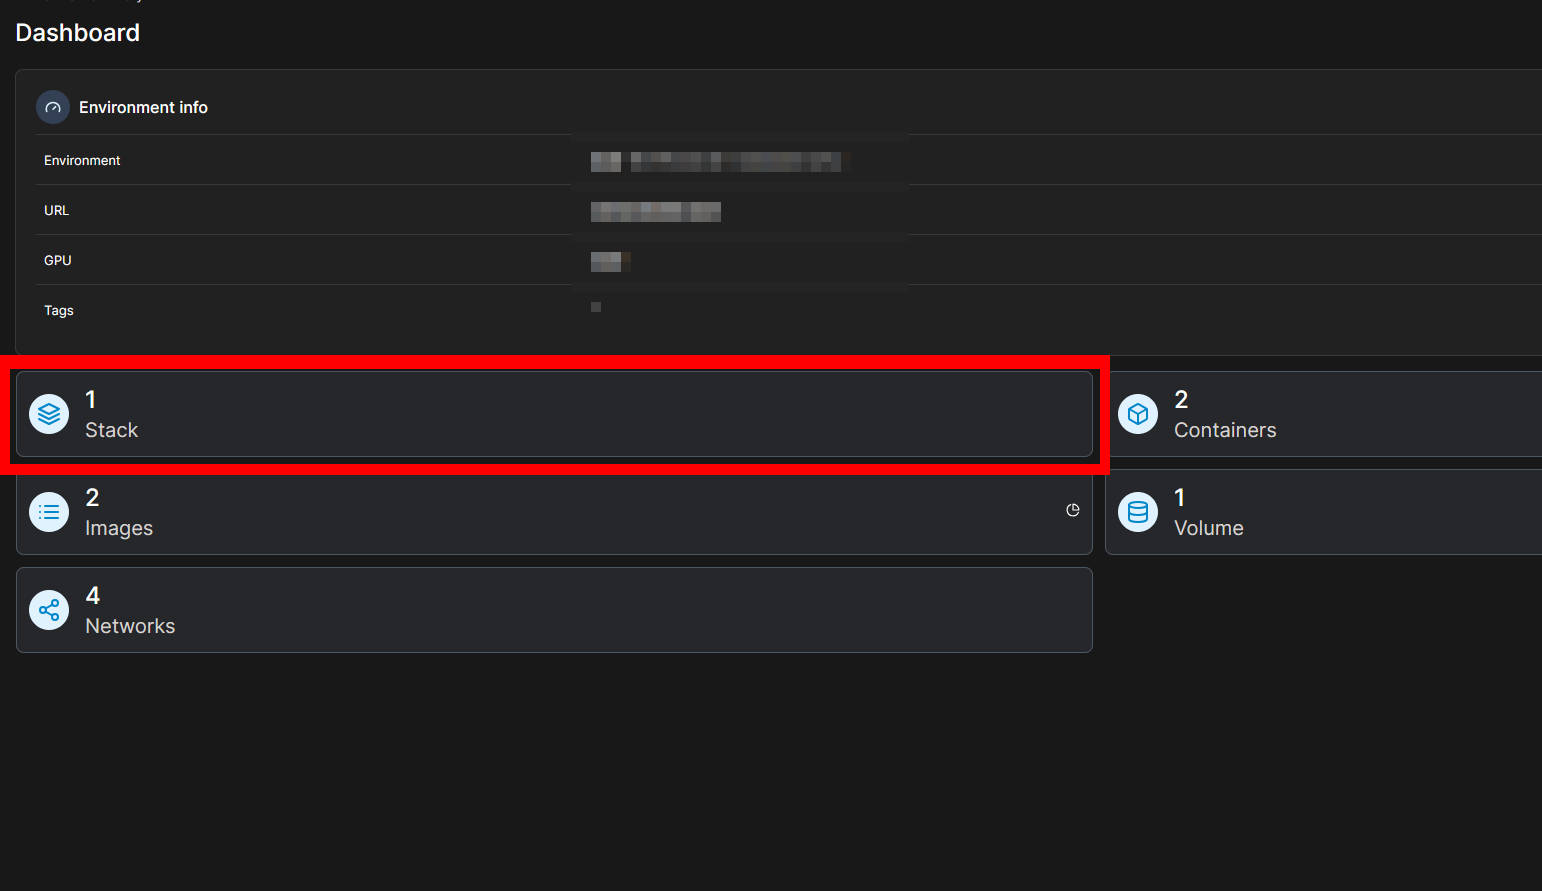
> "Stack"
4-6 - In the Stacks List, click the blue "+ Add stack" button.
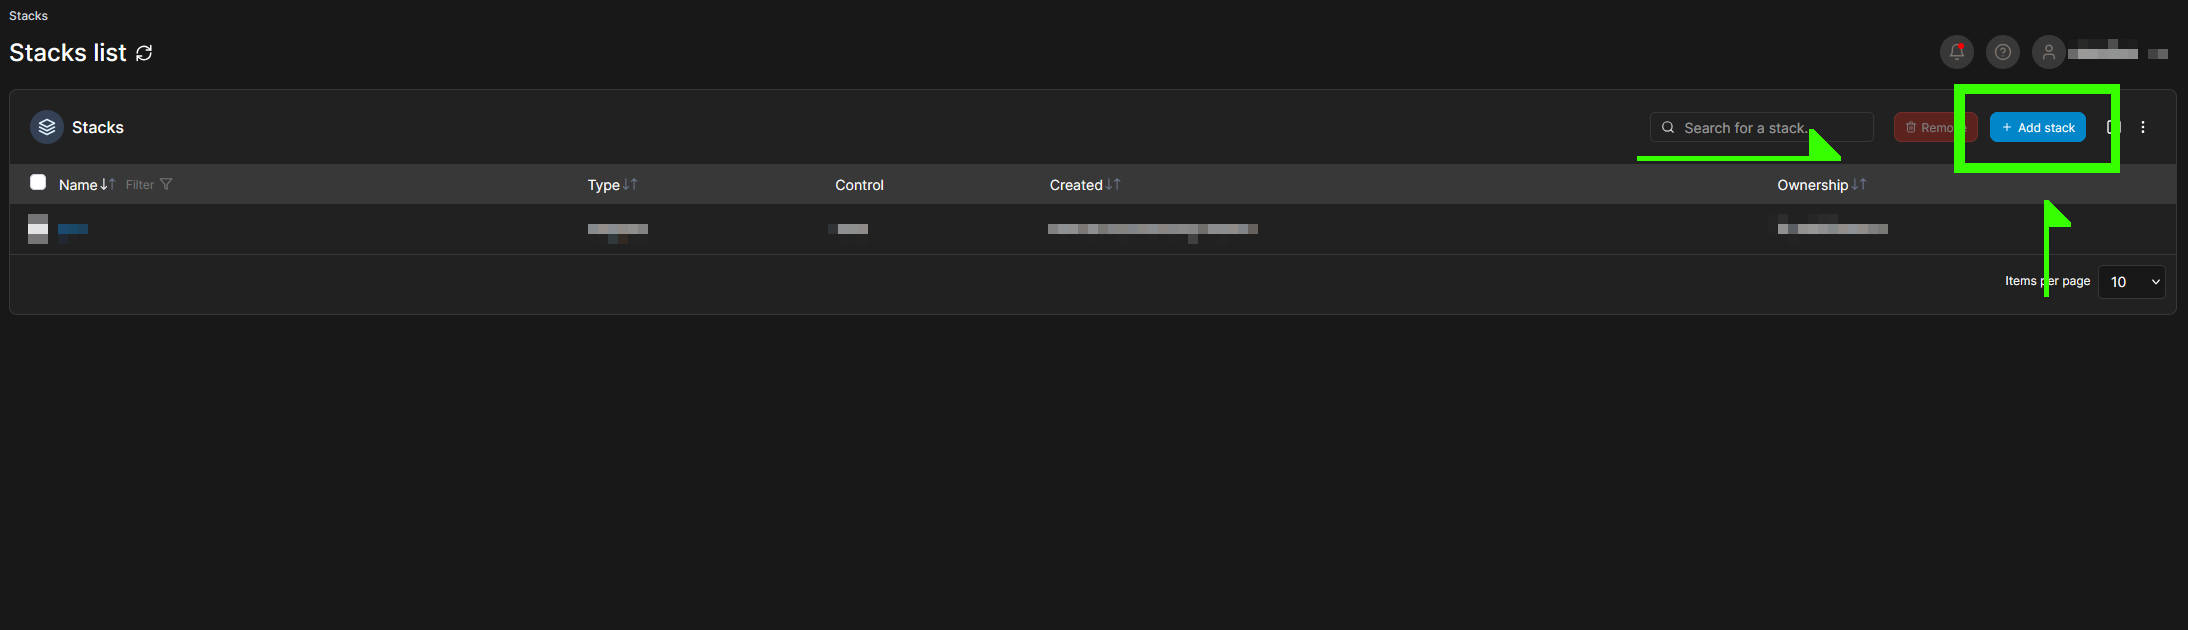
4-7 - In the "Name" field, give it a name you’ll remember (I'll call it "npm" to keep it simple).
5 - Here’s where the fun begins, I promise!
5-1 - Go to the Nginx Proxy Manager website and find the "Quick Setup" section.
5-2 - Copy the following docker-compose configuration and paste it into the web editor:
version: '3.8'
services:
app:
image: 'jc21/nginx-proxy-manager:latest'
restart: unless-stopped
ports:
- '80:80'
- '81:81'
- '443:443'
volumes:
- ./data:/data
- ./letsencrypt:/etc/letsencrypt
5-3 - Let’s authorize NPM to use the Minecraft port (25565), so we’ll add it to the "ports:" section of the configuration, like this: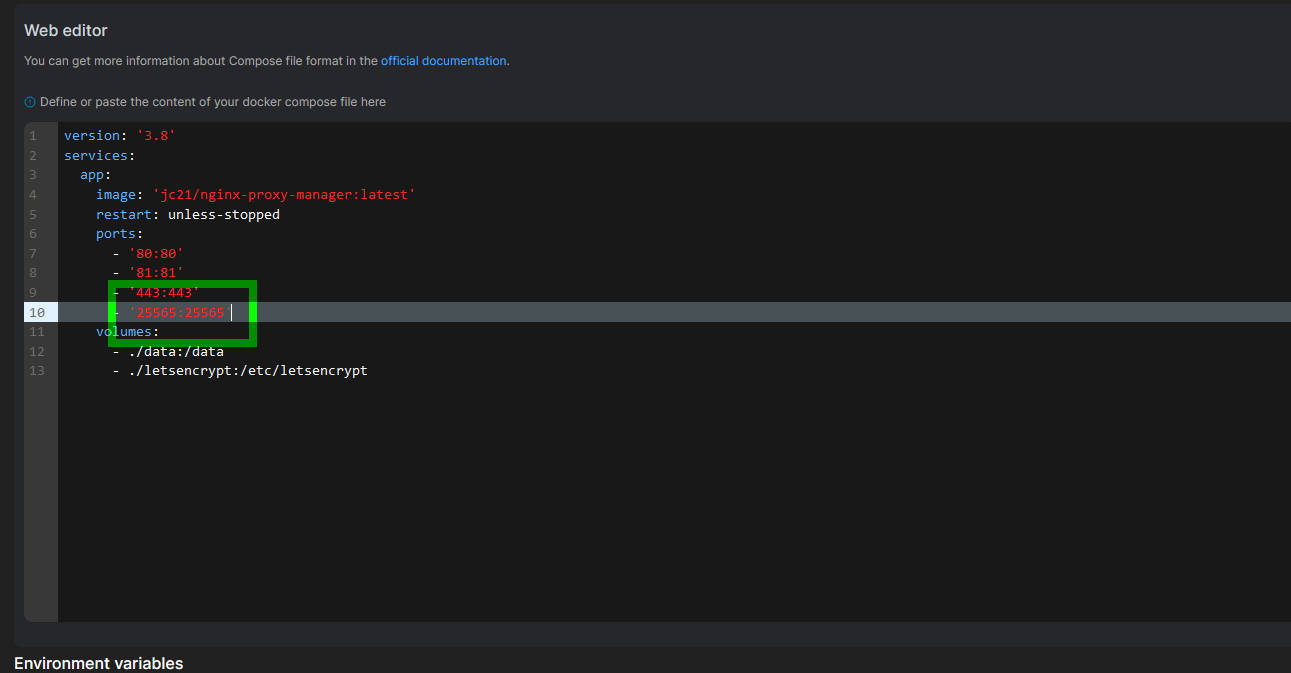 - '25565:25565'
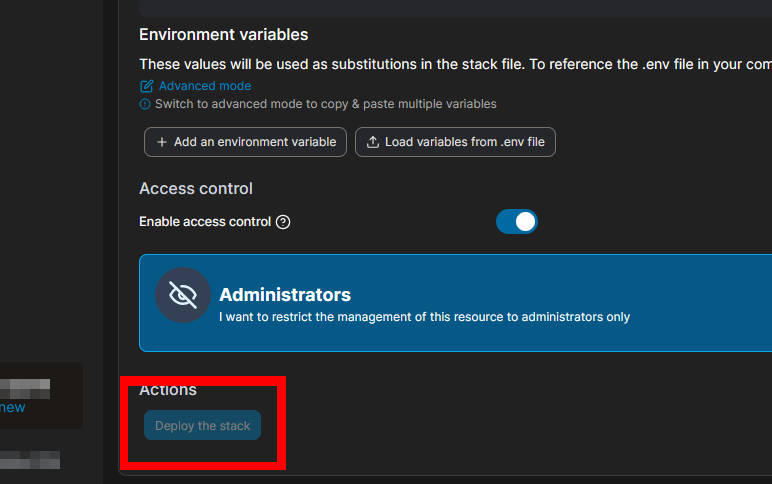
5-4 - Now, click on the "Deploy the Stack" button at the bottom of the page.
6 - Congratulations! The hardest part is over! \(=^c^=)_C[_]
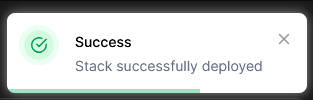
6-1 - Once the deployment is complete (you'll see a notification in the top right corner of your screen), enter your server’s IP address followed by port 81 in the browser (e.g., `1XX.XXX.XXX.XXX:81`).
6-2 - The default email is "admin@example.com" and the password is "changeme." Once logged in, you’ll be prompted to change the email and password for obvious security reasons.
7 - Final Stretch!
7-1 - [Optional] If you have a domain name you want to use for your Minecraft server, make it point to your proxy’s IP address now. You can do the same with your subdomains.
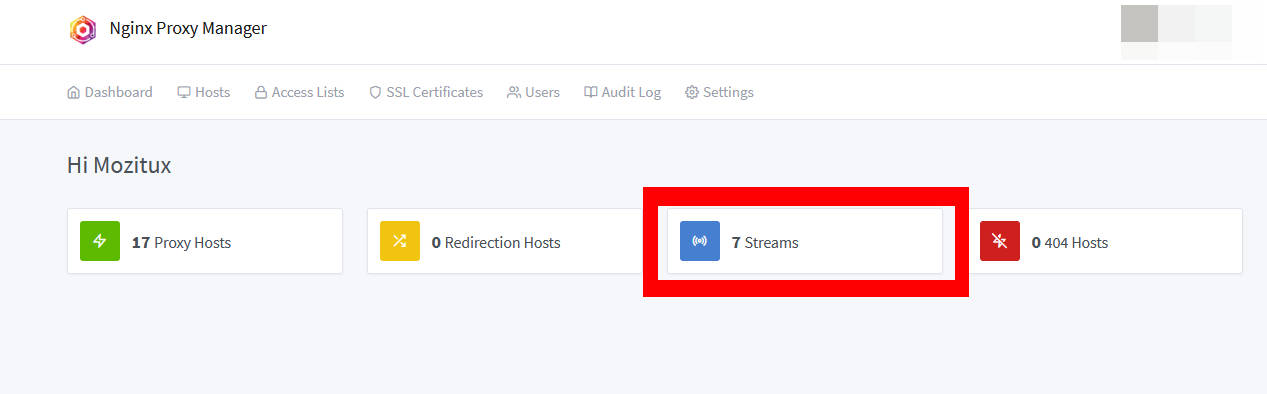
7-2 - In the Dashboard, click on "Streams" (blue button).
7-3 - Click on "Add Stream."
- "Incoming port" will be the redirection port between the proxy and the players (here we’ll use Minecraft’s, 25565).
- In "Forward Host" enter your self-hosted Minecraft server’s IP address (your router’s address).
- The "Forward Port" is the port on your router where the traffic will be redirected. For this example, we’ll also use port 25565.

- It’s important to enable "UDP Forwarding", as video games mostly use this protocol. But in Minecraft's case, make sure both "TCP" and "UDP" are activated.
Click "Save", it's done! :D
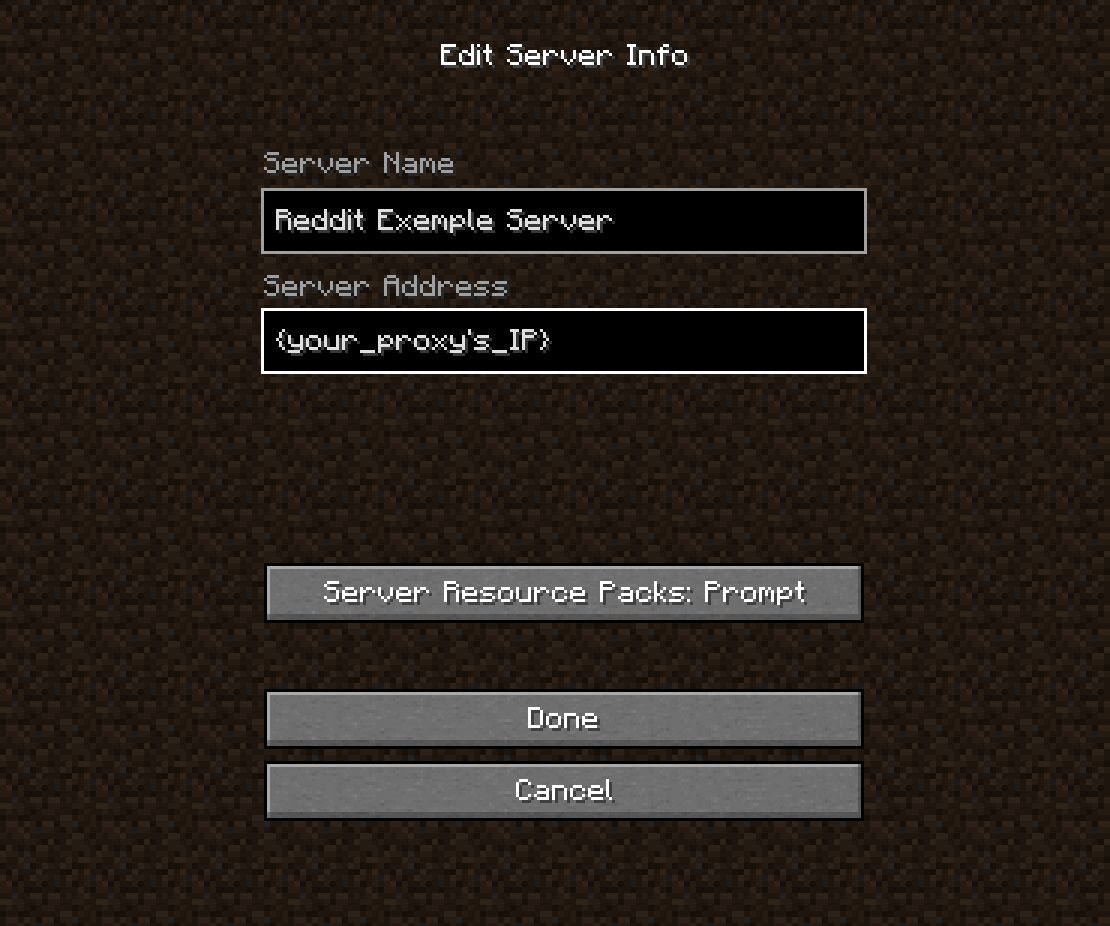
7-4 - Let's Play!
Start your Minecraft server. If you’ve followed this tutorial correctly and configured your router, you should now be able to connect to your server using the Proxy’s IP address.
Have a great game!
Q&A:
Q: Can I host a mail server from home?
A: It’s possible, but I wouldn’t recommend it. Your server could easily get blacklisted and marked as spam. Most domain name providers also offer the option to create a mailbox and configure it to send/relay emails automatically.
Q: What if I want to use a domain name to connect to my server?
A: If you haven’t set up your domain name, go back to step 7-1. After that, you can use your domain name instead of your proxy’s IP address (give it a few minutes to hours for your domain to propagate).
Q: Can I add other Minecraft servers to my proxy?
A: Yes, but you’ll need to use a different port.
Q: Can I add other things to my Proxy?
A: Absolutely! If you can open ports on your router, you can do it. This could include an HTTP/HTTPS address, redirecting an SSH port, an RTMP stream, dynmap, etc.
I hope this little tutorial has given you a glimpse of the possibilities offered by Nginx Proxy Manager. If you have any questions, feel free to ask us on our Discord. :)
In the next tutorial, we’ll see how to run a Minecraft server on just about anything (from your old smartphone to your smart fridge).